Managing images in cssSlider is easy and intuitive. Here we explain how to carry out some of the most common image management tasks.
1. Add a new image to your slideshow
You don’t need to worry about the file size or image dimensions of your original images — cssSlider will automatically optimize your images and fit them to the slideshow.
You can add a new image to your slider in three ways.
The first is to click on the ‘Add Images’ button in the top navigation bar and browse to your saved images.
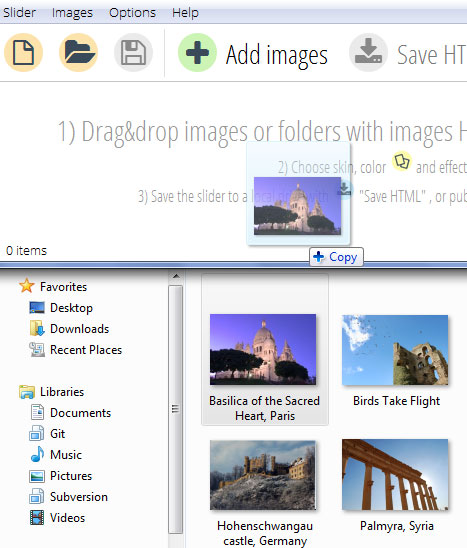
The second way is to drag and drop images from your file system straight into cssSlider.
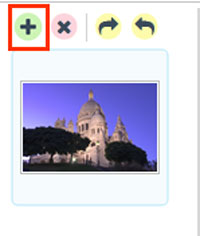
The third way is to click on the little green ‘plus’ icon at the top of the left-hand list of images.
The newly added images will be added to this left-hand bar.
2. Remove an image from your slideshow
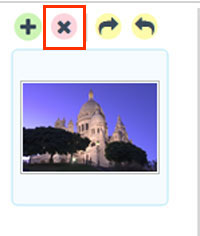
Removing an image is simple. Select the image you want to remove from the slideshow in the left hand bar, and then click on the red ‘X’ icon at the top.
The image will disappear from both the slideshow and the list of images.
3. Change the order of images in your slideshow
The list of images in the left hand bar is in the same order as the images appear in the slideshow. To change the sequence, simply drag and drop the images into the correct position in the list.
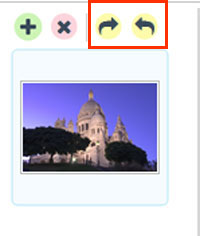
4. Rotate one of the images in your slideshow
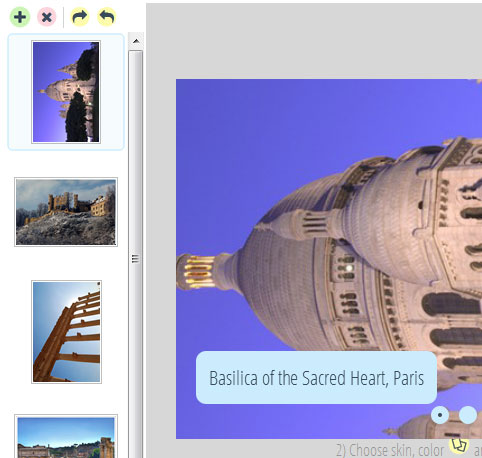
In order to rotate an image to the left or right, you should first make sure it is selected in the left bar. The picture you have selected will be highlighted.
Then you can find ‘rotate’ buttons next to the ‘X’ icon.
Click on the ‘Rotate right’ or ‘Rotate left’ option.
You picture will rotate. You can see how it looks in the slideshow preview.